Slate Team

Instagram Reels have become popular since their introduction. With the rise of short-form video content, Reels offer a creative way to showcase your brand, products, or services. However, without subtitles, you may miss out on a substantial portion of potential viewers and engagement.
Adding captions to Instagram Reels significantly enhances their impact and reach. Subtitles make your content more accessible and engaging for a wider audience. So, understanding how to incorporate captions into your Reels effectively is crucial in maximizing their potential.
In this article, we'll explore the benefits of adding subtitles to your Instagram Reels and provide a step-by-step guide on how to do it like a pro.
Key Takeaways
Adding subtitles to your Instagram Reels offers advantages like increased accessibility, higher engagement, improved reach, and enhanced viewer experience.
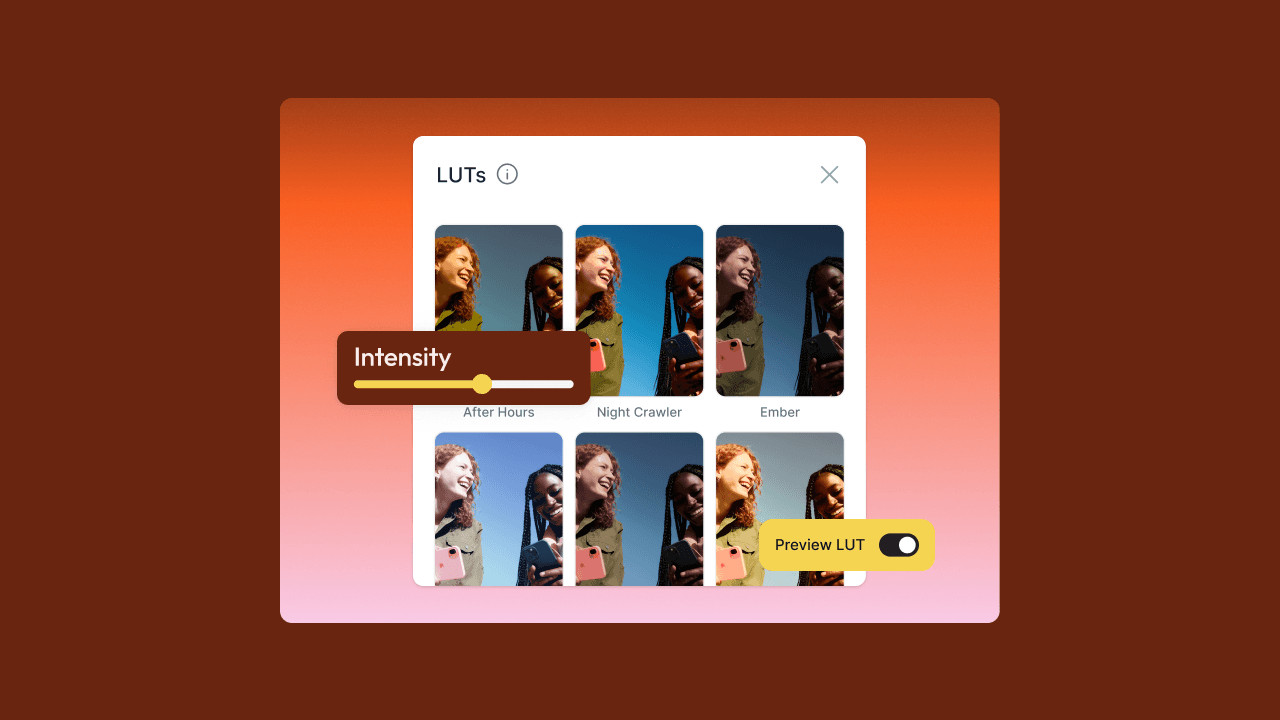
A social media video editor is an excellent alternative to Instagram's built-in caption sticker.
Slate's AI-powered auto-captions create engaging, accessible content effortlessly.
Why Add Subtitles to Instagram Reels?
Adding subtitles to your Instagram Reels offers several advantages, such as:
Increased Accessibility
Captions make your content accessible to a broader audience, including those who are deaf, hard of hearing, or non-native speakers. By providing subtitles, you ensure everyone can enjoy and understand your Reels, regardless of their hearing abilities or language proficiency.
Higher Engagement
Subtitles can boost engagement by making your Reels more compelling and easier to follow. Many users watch videos without sound, especially when browsing social media in public places or at work. Captions allow them to consume your content silently, increasing the likelihood of them watching your Reels and engaging with your posts.
Improved Reach
Instagram's algorithm favors content that keeps users on the platform longer. Adding subtitles increases the chances of viewers watching your Reels from start to finish, signaling to the algorithm that your content is valuable and engaging. This can improve visibility and reach for your Reels, exposing your brand to a broader audience.
Enhanced Viewer Experience
Adding subtitles to your Instagram Reels elevates the overall viewer experience. Captions provide context and clarity, making your content more engaging and enjoyable for all viewers, regardless of their hearing abilities or preferred viewing habits.
Moreover, subtitles allow viewers to watch your Reels in various settings, such as noisy environments or when they need to keep their device on mute. This inclusivity ensures that your content reaches a broader audience and resonates with more people.
Furthermore, captions help viewers understand complex or fast-paced content, particularly for non-native speakers or those who struggle with certain accents or dialects. By providing subtitles, you make your Reels more accessible and easier to follow, increasing viewer satisfaction and retention.
How to Add Subtitles to Instagram Reels Natively?
Captions make your content more inclusive and allow viewers to watch your videos in sound-sensitive environments, such as public spaces or at work. By adding subtitles, you can expand your audience and create a more engaging viewing experience.
Without much ado, here’s how to add subtitles to Instagram Reels.
Step 1: Access the Caption Sticker
Once you've recorded or uploaded your Instagram Reel, it's time to add captions. In the Reel editing screen, look for the sticker icon at the top of the screen. Tap on it to open the sticker menu.
Find and select the "Captions" sticker from the available sticker options. This built-in feature allows you to automatically generate subtitles for your Reel based on the video's audio.
After selecting the "Captions" sticker, Instagram will begin processing your video's audio to create the subtitles. This may take a few moments, depending on the length of your Reel.
Step 2: Customize Your Captions
After Instagram generates the automatic captions, take a moment to review them for accuracy. The AI transcription may not always be perfect, so make any necessary edits to ensure your subtitles are error-free and convey your intended message.
To edit a caption, simply tap on the text and make changes using the on-screen keyboard. You can correct misspellings, add punctuation, or rephrase sentences as needed.
In addition to editing the text, you can customize the appearance of captions to match your brand's style and aesthetic. Instagram offers a variety of font options, allowing you to choose a typeface that complements your content and resonates with your audience.
You can also adjust the color of your subtitles to ensure they stand out against your video's background. Select a color that provides sufficient contrast and readability, making it easy for viewers to follow along.
Finally, consider the placement of your captions on the screen. Position them so they don't obstruct important visual elements or distract from the viewing experience. Typically, placing subtitles in the lower third of the screen is a safe and effective choice.
Best Practices for Instagram Reel Captions
To maximize the impact of your subtitles, keep these best practices in mind:
Consider branded captions outside of native tools to stand out (more on this below).
Aim for short, easily digestible captions that viewers can read while following the visual content. Avoid lengthy or complex sentences that may be difficult to follow.
Ensure your captions align with the timing of the spoken words in your video. Proper synchronization enhances the viewing experience and prevents confusion.
Capitalize the first letter of each sentence and include appropriate punctuation. This improves readability and makes your captions look more professional.
Instagram allows a maximum of two lines of text per caption segment. Remember this when editing your subtitles, and break them up into shorter segments if necessary.
Before publishing your Reel, preview it with the captions to ensure they look and sound as intended. Make any final adjustments to optimize the overall viewing experience.
Step 3: Publish Your Instagram Reel with Captions
Once you're satisfied with your captions, it's time to share your Instagram Reel with the world. Tap the "Next" button to proceed to the publishing screen.
You add a title, description, and relevant hashtags to your Reel. Including keywords in your title and description can help improve your Reel's discoverability and reach.
You can also choose a cover image for your Reel, which will appear on your Instagram feed and profile. Select a frame that captures attention and entices viewers to watch your video.
Before hitting the "Share" button, look at your Reel to ensure everything looks perfect. Once published, your Reel will appear in your followers' feeds, your profile, and potentially on the Instagram Explore page, depending on its engagement and relevance.
Step 5: Publish Your Reel
Once everything is satisfactorily done, share your Instagram Reel with your audience. Tap the "Done" button to finalize your subtitles and proceed to the publishing screen.
On the publishing screen, you can:
Add a catchy title to grab attention
Write an engaging description to provide context
Include relevant hashtags to increase discoverability
Tag other accounts or collaborators
Choose a cover image that represents your Reel
Take a moment to review your title, description, and hashtags. These elements are crucial in attracting viewers and encouraging engagement.
When selecting hashtags, consider a mix of popular and niche tags relevant to your content and target audience. This strategy helps your Reel reach a broader audience while targeting specific communities interested in your niche.
Once you've finalized your title, description, and hashtags, hit the "Share" button. Your Reel will now appear in your followers' feeds, on your profile, and potentially on the Instagram Explore page, depending on its engagement and relevance.
Tips for Creating Effective Subtitles on Instagram Reels
1. Keep Captions Concise
Ensure your subtitles are easy to read by keeping them brief and to the point. Viewers should be able to quickly read and understand your captions without missing the visual content.
2. Use a Legible Font and Color
Choose a font and color that is clear and easy to read against your video background. Opt for high-contrast combinations to improve readability and convey your message effectively.
3. Position Subtitles Strategically
Place captions in a spot that doesn't obstruct important visual elements in your Reel. Typically, the lower third of the screen is a safe and effective choice, allowing viewers to focus on both the visuals and the subtitles.
🔥 Better Alternative: Use a Platform like Slate for Custom Subtitles
If you're looking for more customization options and enhanced accuracy when adding subtitles to your Instagram Reels, a social media video editor like Slate can be a great alternative to Instagram's built-in caption sticker.
Specialized tools offer a range of features designed to help you create professional, engaging subtitles that perfectly complement your Reels.
Advanced Transcription Capabilities
Social media video editors often provide advanced transcription capabilities that surpass Instagram's auto-captioning feature.
These tools use sophisticated AI algorithms to generate highly accurate subtitles based on your video's audio, reducing the need for manual editing and saving you valuable time.
Customizable Font Styles and Colors
With a social media video editor, you have greater control over the appearance of your subtitles. Choose from various font styles and colors to create captions that align with your brand's aesthetic and stand out against your video background.
This level of customization ensures that your subtitles convey your message effectively and contribute to the overall visual appeal of your Reels.
SEE HOW SLATE'S AUTO-CAPTION FEATURE WORKS
Flexible Positioning and Timing Options
Social media video editors offer flexible positioning options, allowing you to place your subtitles precisely where you want them on the screen. This is particularly useful when avoiding obscuring essential visual elements or ensuring optimal readability throughout your Reel.
Additionally, these tools provide timing options that enable you to sync your subtitles perfectly with the spoken words in your video.
Integration with Other Editing Features
Using a social media video editor for subtitles opens up a world of possibilities for enhancing your Instagram Reels. These tools often come with features that support trimming, splitting, and merging video clips, adding transitions and effects, and incorporating music or sound effects.
Efficient Workflow and Time-Saving Benefits
Incorporating a social media video editor into your Reel creation process can significantly streamline your workflow and save you time. With all the necessary tools in one place, you can efficiently add subtitles, make edits, and fine-tune your Reels without switching between multiple apps or platforms.
This improved workflow allows you to focus on creating compelling content and engaging with your audience rather than getting bogged down in technical details or time-consuming manual tasks.
Final Thoughts
Incorporating well-crafted subtitles into your Reels demonstrates attention to detail and a commitment to quality content creation. This professionalism can help build trust with your audience and set your brand apart from competitors who may overlook the importance of captions.
What’s more, adding subtitles to your Instagram Reels doesn't have to be a daunting task. With tools designed to streamline the process, creating accessible and engaging content is within reach.
Slate offers AI-powered auto-captions that effortlessly integrate with your videos, providing accurate and brand-aligned subtitles that elevate your Reels.
Enhance your Instagram Reels with Slate's AI-powered auto-captions. Create engaging, accessible content effortlessly!
How to Add Subtitles to Instagram Reels: Frequently Asked Questions
Why Don't I Have the Caption Sticker on Instagram Reels?
If you don't see the caption sticker in your Instagram Reel editing screen, it could be due to several reasons:
The feature may not be available in your country or region yet
Your Instagram app may need an update to access the latest features
Your device may not meet the minimum requirements for the caption sticker
If you cannot access the caption sticker, consider using a third-party video editing app to add subtitles to your Reels before uploading them to Instagram.
Can I Edit Auto-Generated Captions on Instagram Reels?
Yes, you can edit the auto-generated captions on your Instagram Reels. After the AI transcription process is complete, tap on the text to make necessary changes, such as correcting misspellings, adding punctuation, or rephrasing sentences.
How Can I Add Subtitles to Instagram Reels without the Caption Sticker?
If you don't have access to the caption sticker or prefer more customization options, you can use a third-party video editing app to add subtitles to your Reels before uploading them to Instagram.
Look for apps that offer a wide range of font styles, colors, and positioning options to create captions that align with your brand's aesthetic.
What's the Best Way to Ensure Accurate Subtitles on Instagram Reels?
To ensure accurate subtitles on your Instagram Reels, speak clearly and at a moderate pace in your video. Review and edit the auto-generated captions for any errors.
Consider third-party video editing apps with advanced transcription capabilities. Before publishing, have a team member or friend review your captions for accuracy.